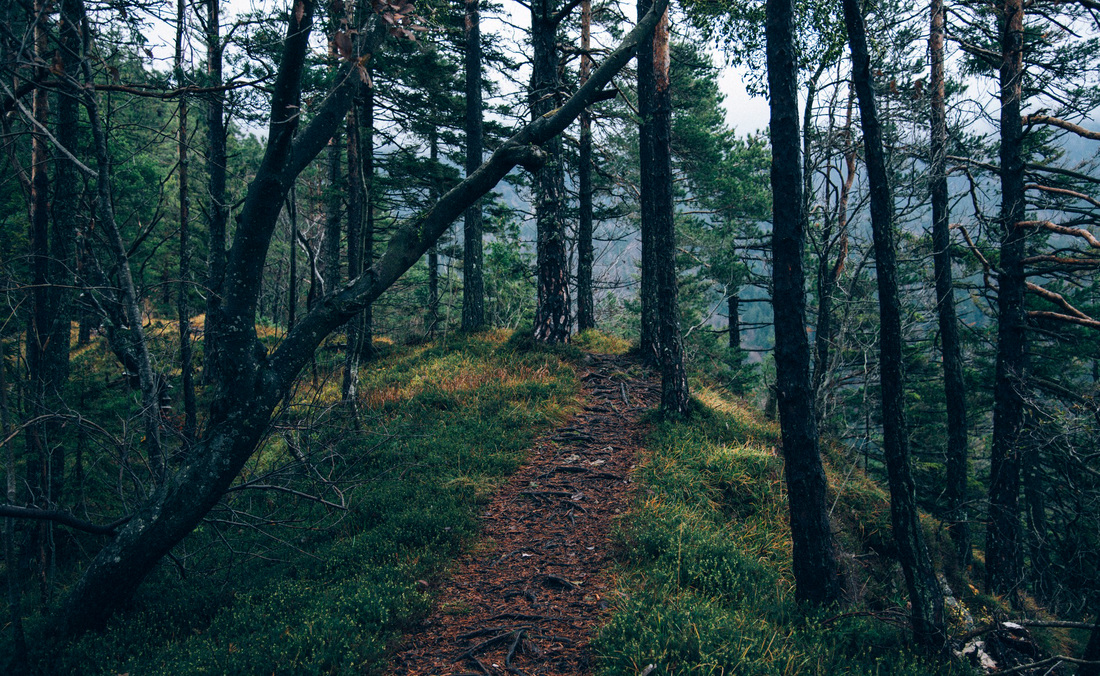
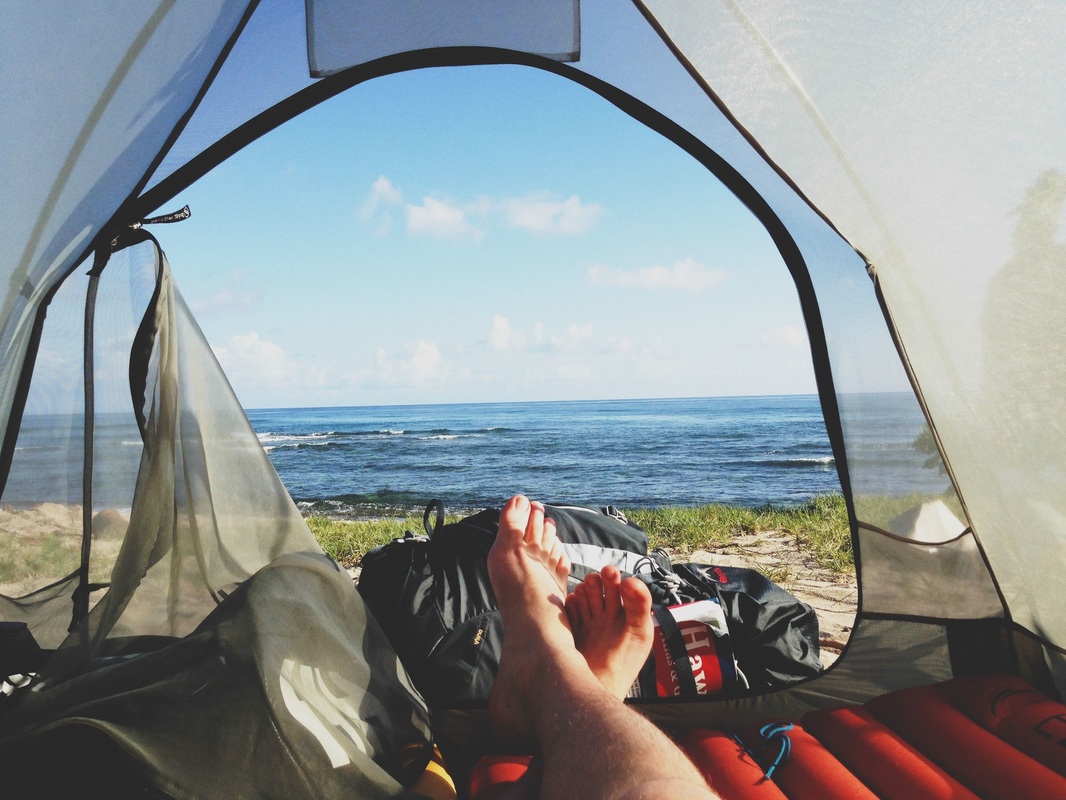
I'm James. This is my year of travel.


We found it easier to stand in the middle of a location and shoot around one point, but be mindful of traffic if you’re in the street. Grab your camera and head to the location you wish to shoot. Lastly, shooting in portrait orientation helps to make sure you don’t cut off a tall object. It’s important to note that whichever method you use, you’ll need a Google+ account to add your images. When using a DSLR to shoot a panorama, it’s helpful to use a small aperture, manual focus, and a tripod for keeping your shots level. Plus, there’s the added bonus of greater control over the images you take, such as shutter speed, aperture, and focal length. DSLR users are also able to take spheres or panoramas and add them to Views. As you might expect, there are a few more steps involved than there is with your phone, but it’s nothing too crazy. Thankfully, if you’re not on the current version of Android or you’re (gasp!) not using an Android phone, there is another way. Using a DSLRĪccording to Google’s Android developer site, only 5.6 percent of Android users are currently running Android 4.2, the only version that currently includes photo spheres. If you’re comfortable sharing, press “Publish.” A message will pop up telling you that your Photo Sphere will be public on Google Maps as soon as it’s been reviewed. The location and date of the photo sphere will be displayed publicly. You’ll see a warning that you will be sharing publicly on the Web. To share your photo sphere, simply press the Share icon and select Google Maps. Once you’re done capturing, just press the stop button at the bottom of the screen. Google says you need to complete at least five rotations, tilting your camera up or down, to create a full photo sphere. You don’t have to hit all the dots, but the more you do, the more accurate the photo sphere will be. Stand in the same spot as you rotate and continue matching up the blue dot to the center of the doughnut. Holding your device vertically and close to your face level, capture the scene by positioning your camera so that the blue dot lines up with the center of the doughnut. Tap the latter one that’s the photo sphere button. Touch this, and it’ll open a menu for video, panorama, or what looks like an inverted panorama symbol on a globe. In your device’s Camera app, look for the little camera icon in the bottom left-hand corner. 
Shooting a photo sphere in your Android 4.2 phone or tablet is simple. Below, we’ll walk you through how to take and upload a photo sphere using either your Android 4.2 device or your DSLR. Your Apple TV never sleeps while playing the animation, so you can have the perfect screensaver for your TV.Google wants anyone to be able to contribute photo spheres, even if they don’t have a device running Android 4.2. You can also play a 360-degree animation of your favorite equirectangular image on the Apple TV. Alternatively, you can send the image directly to your Apple TV from your iPhone/iPad using the "Open on Apple TV" function. Import the images into Spherualizer to view them in high resolution.ĭo you have an Apple TV? Great! iCloud sync allows you to view your Spherualizer gallery on Apple TV. Use the Spherualize action to interactively preview your equirectangular images from any app, including Apple's Photos and Files apps. 
Spherualizer works fullscreen with both iPhone and iPad, and now also supports Split View and Slide Over. 
Double tap with one finger to toggle the effect between Tiny Planet and Rabbit Hole. Pinch with two fingers to zoom in or out. Create videos while moving 360 degrees around your photo.Ĭreate Tiny Planet and Rabbit Hole from your 360 degrees pictures. With the app's recording feature, you can capture every angle of your panoramic pictures while moving around and exploring them.ĭo you have a 360-degree camera or are you an equirectangular image creator? Great! Spherualizer offers the best of the spherical immersive experience when using equirectangular images, allowing you to move around the photo in any direction.įilm the instant. Create stunning videos of your panoramic photos with Spherualizer. Introducing the new "Open on Meta Quest" functionality! With Spherualizer, you can now easily transfer your panoramic and 360-degree photos from your iPhone or iPad to your Meta Quest and experience them in immersive VR. If you prefer you can also scroll the panorama by dragging your finger on the screen. Using the gyroscope on your iPhone or iPad, Spherualizer lets you view panoramic photos as if you were looking at them from a window overlooking a virtual world. View your panoramic photos from a new perspective.
0 Comments
Leave a Reply. |
AuthorWrite something about yourself. No need to be fancy, just an overview. ArchivesCategories |
 RSS Feed
